People like to see what you are doing. Your website is you. It is the center of your universe. This is where people can go to know what they want to know about you. One thing people want these days is ‘what is this person doing on Twitter?’.
Adding the Twitter Timeline to your Sidebar
by: Ronovan
The following steps will help you get your Twitter Timeline on the sidebar of your blog. People can even click it and choose to Follow you on Twitter. Don’t worry about the number of steps, if you’ve been through any of my how to do things before then you know I make every single thing a Step. 1-5 are simply clicking on the things you find in your Dashboard. 6 is finding something on the page and 7 is where you actually start doing something for real and even that is just a lot of words describing mostly easy things to do.
Step #1
Click on your Dashboard
Step #2
Scroll down and click on Appearance
Step #3
Click Widgets
 Step #4
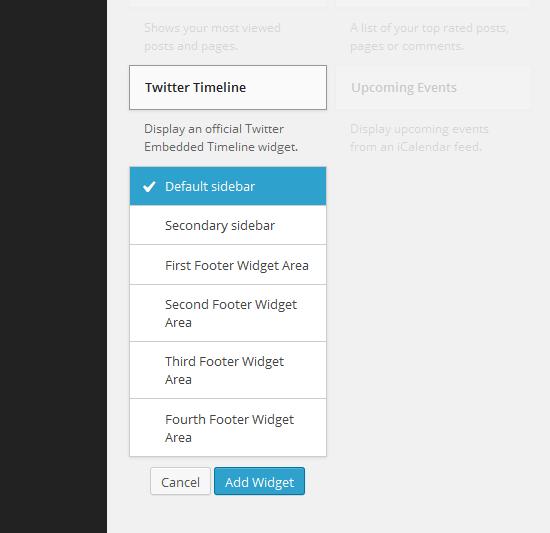
Scroll down and click on Twitter Timeline
Step #5
Choose Default Sidebar and then click Add Widget
Step #6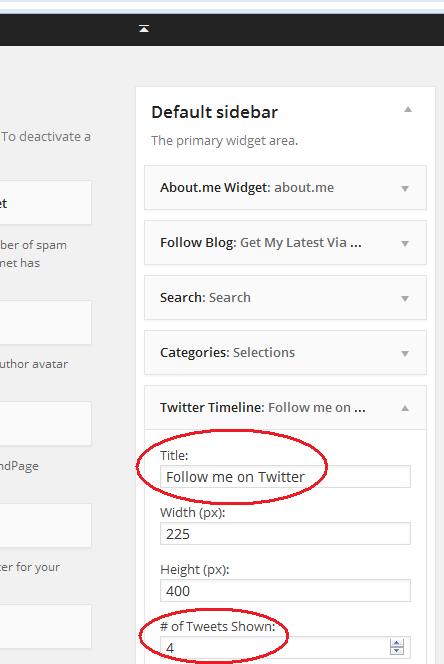
Now look at the top and middle of your screen for the Default sidebar area and you should see Twitter Timeline.
Step #7
I am going to only talk about two areas within the Twitter Timeline box at this time. This will get you up and running.
- Title-Name What you want the heading to say above your Twitter Timeline, think the heading. Some say My Tweets. Mine says Follow me on Twitter. Be cute if you like, whatever fits your page and personality. Maybe you want it to say TWEET TWEET, or TWIT TWEETS. Whatever you type will appear in capital letters.
- I lied there will be three areas I talk about. The next is # of Tweets Shown. This is your own preference. If you already have a somewhat full sidebar you may want 4 or 5. If you just love Twitter, crank up higher.

- Now onto the Widget ID. There are 3 things to be aware of here. The create a widget at Twitter, Widget ID field, and Save all of which are circled.

- Make sure you are signed into Twitter when you actually start this part of the process, because it leads you through it. When you click on create a widget at Twitter another window will open for your Twitter account and look like this. Just make sure your Username is correct. You can choose to Opt-out of tailoring Twitter at this point. That’s up to you to explore. Then click Create widget.
- Then Save or Save Changes.
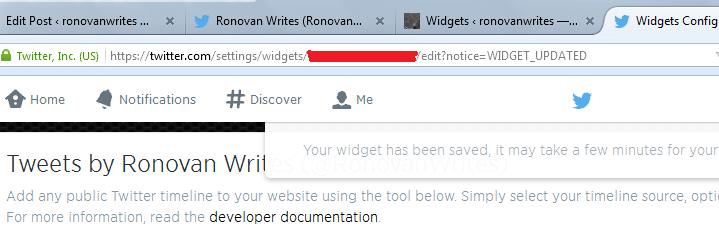
- The ID number you need is in the address bar at Twitter where you saved you just created a widget. You’ll see it in red in the image above. Of course mine is marked out here. But you just need the numbers.
- Once on the next screen you need to get the actual Twitter ID number. It will be in an address bar with /settings/widgets/then a lot of numbers. You just want the numbers as shown above. Copy and paste those numbers into the Widget ID field. Then click Save. Or you can always just write them down and then type them in, save your keyboard keys, right?
- Once complete click Save and you are done. Open up your Main Page in a separate window and see if you are satisfied with your Twitter Timeline location. If not satisfied simply drag the Twitter Timeline within your Widget area back where you added it to where you would it to appear in order on your Default Sidebar.
Now whenever you Tweet something it will show on your webpage. Also it allows people to Follow you on Twitter with a click. Make it easy as possible for people to connect to you.
If you have any questions. Let me know.
Much Respect
Ronovan
© Copyright-All rights reserved-RonovanWrites.wordpress.com-July 06, 2014.
